 103
103
More Projects You May Like
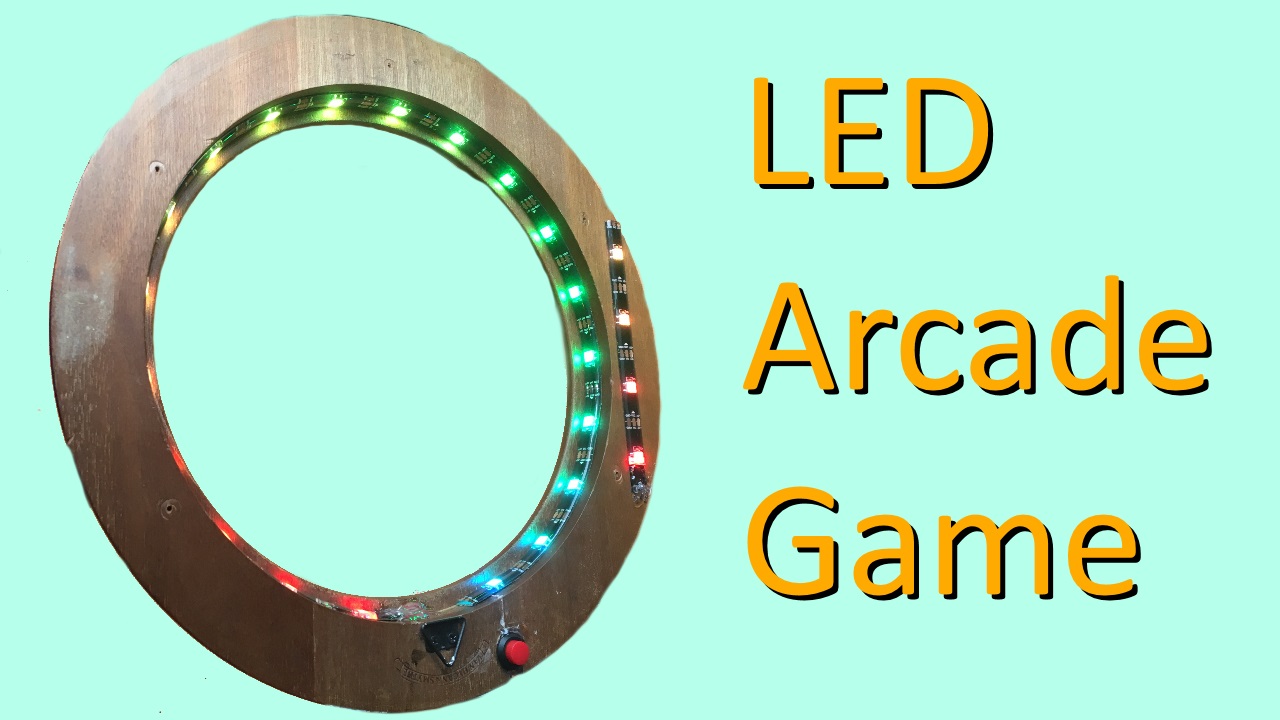
Cyclone Arcade Game
A great way to pass time and a perfect game to learn how to use the arduino. Build a small LED game with multiple different game modes.
Bluetooth Garage Door
Open up your garage door anywhere with your phone! One perfect solution to allow a family to use the garage door instead of purchasing multiple different remotes.
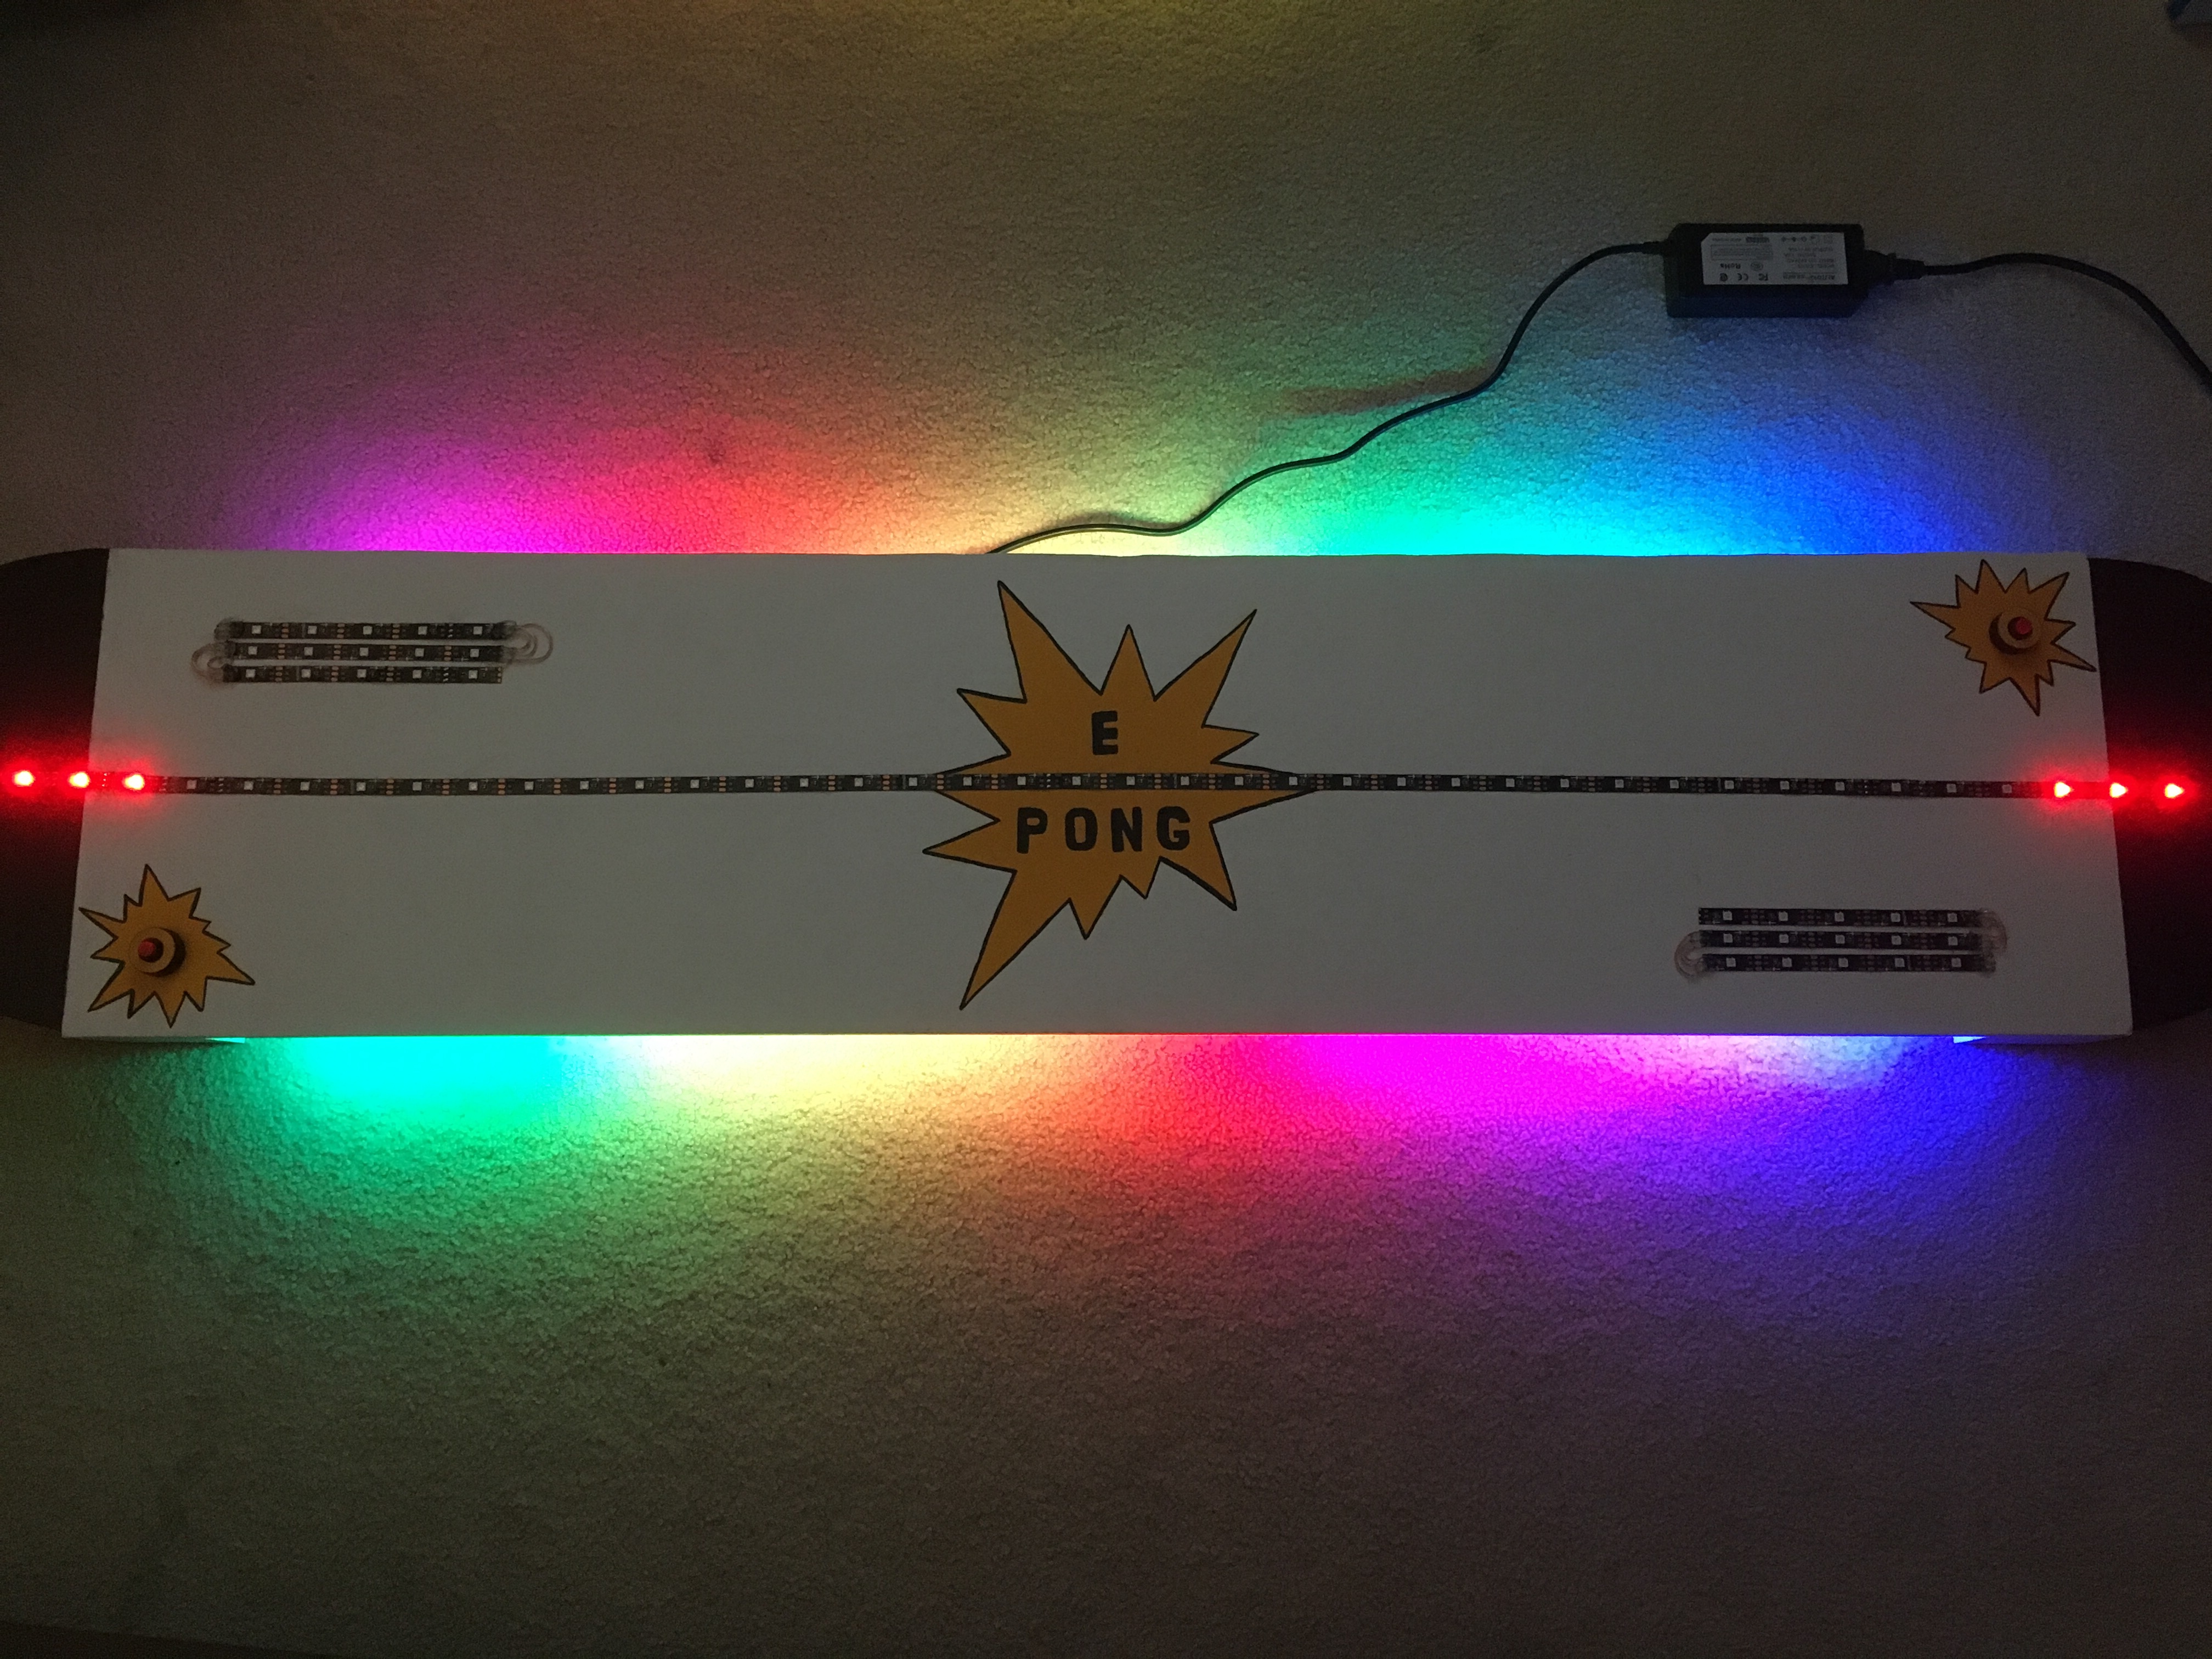
E Pong
Build a fun an interactive drinking game. This is great for parties and a great way to test reflexes.
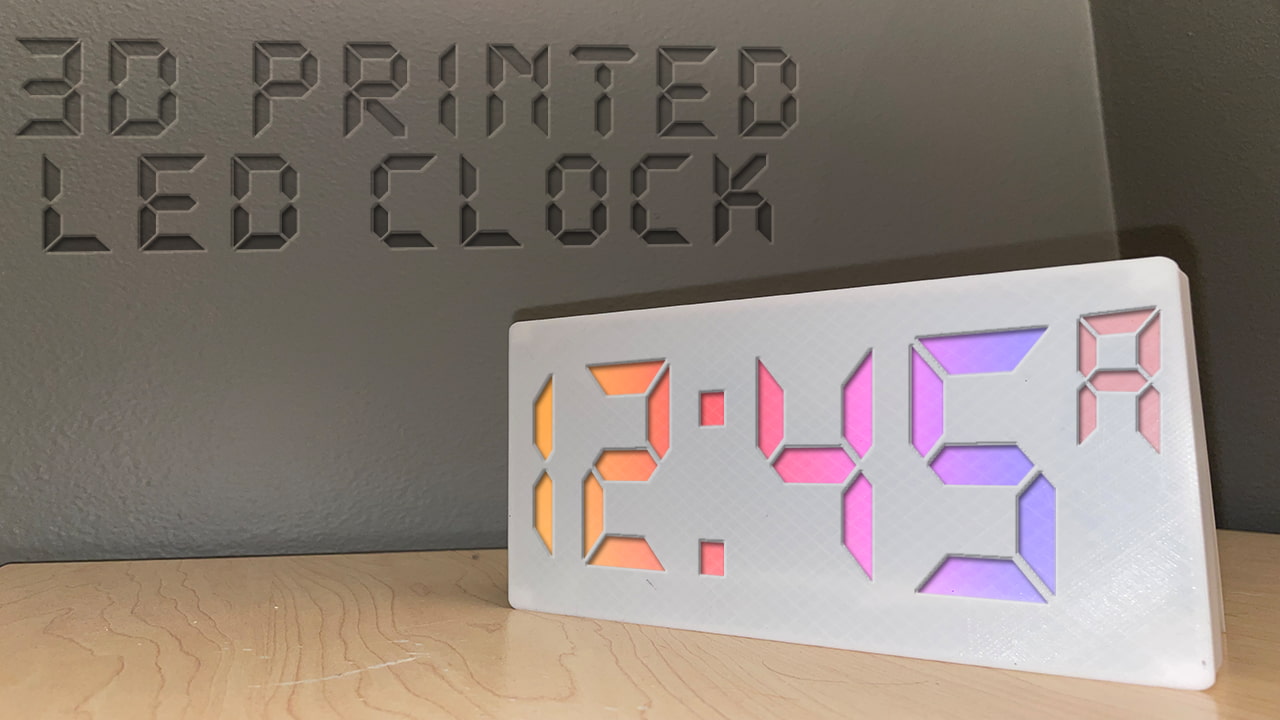
3D Printed LED Clock
Display the time in this modern, color changing display that looks great as a stunning looking project.